Let's Encrypt offers free automated SSL certificate issuance, and its become the prefered way to provision and renew SSL certificates nearly overnight since its debut a few years back. Gitlab Pages (where I'm hosting this blog) encourages users to rely on Let's Encrypt but doesn't document an automated way to manage this.
Why Automate Certificate Renewal?
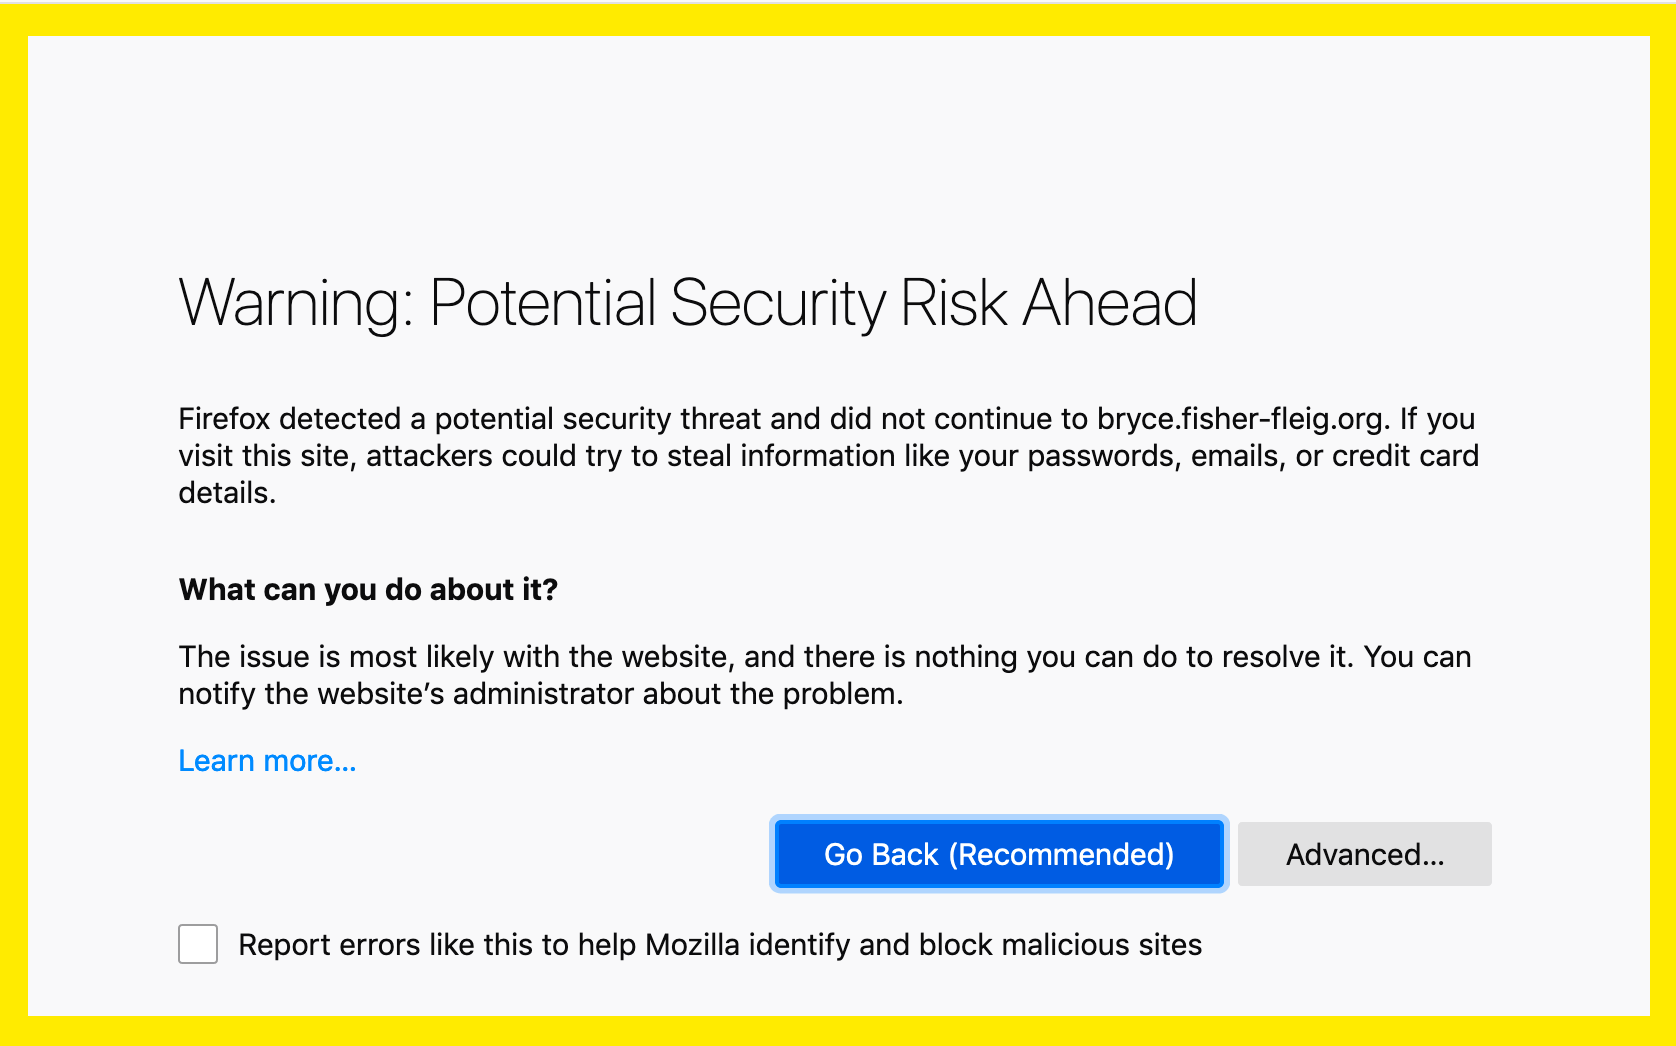
Let's Encrypt certificates are only valid for 90 days, which is just often enough to require some effort but too infrequent to ever remember how to do this. Also, the stakes are kinda high: if I don't keep SSL working, Google will demote my site in search rankings and visitors who bookmarked and/or typed in my URL directly will see something horrible like this:
How Can We Automate Renewal of SSL Certificates for Gitlab and Let's Encrypt?
- Isolate
_acme.<YOUR HOST NAME>in a hosted zone record set with Route53 - Provision an IAM user with limited permissions to control this hosted zone's record sets.
- Figure out the certbot-dns-route53 and Gitlab Pages API command to obtain a certificate
- Schedule a recurring Gitlab CI to renew regularly
- Monitor using Keybase.io and/or uptimerobot.com to discover if this stops working.
- Profit!
The main reason for (1) is to separate privileges so that if a hacker obtained the credentials for Route53, they couldn't pwn ALL your DNS; they could only replace your SSL certificate for the one domain. This is discussed at length elsewhere. AWS is one of the few DNS providers that provide granular access control for DNS. In 2019.
The secondary reason is so that we can leverage certbot with the certbot-dns-route53. Previously, I've always used HTTP01 challenges, which require putting a random string LetsEncrypt at a specific path on my site, which worked well when I was directly managing an S3 bucket. However for Gitlab Pages, I can only puth content at a path by pushing commits to Gitlab, but I really don't want to do that to my git history. The DNS01 challenge offers an alternative which is orthogonal to git history.
(2) Tests our ability to use all these things together and check the credentials for everything.
(3) Once we've shown that the script works, we just schedule to run automatically.
(4) The whole point of this setup is to avoid doing a lot of manual work. If you have to visit your website every N days and read through the very confusing certbot documentation, you'll forget and then something will happen and you won't know you're down.
DNS Setup with Route53
Create your Route53 hosted zone with the domain name _acme-challenge.<DOMAIN NAME FOR SSL>. So for this blog, the domain for Route53 hosted zone is _acme-challenge.bryce.fisher-fleig.org. Look for the alphanumeric hostzone ID in the AWS console and remember this for the next step.
If like me, you don't use Route53 to manage all your DNS, you'll need to make sure that some authoritative records point to the Route53 hosted zone. In my case, I purchased fisher-fleig.org from GoDaddy before Route53 was even an AWS product. So, I had to add records pointing to _acme-challenge.bryce.fisher-fleig.org. I choose to use a "name server" NS record, but you could easily use a CNAME record as well. Let's verify that this works by using dig:
$ dig -t NS _acme-challenge.bryce.fisher-fleig.org

;; ANSWER SECTION:
_acme-challenge.bryce.fisher-fleig.org.	588 IN NS ns-1800.awsdns-33.co.uk.
_acme-challenge.bryce.fisher-fleig.org.	588 IN NS ns-24.awsdns-03.com.
_acme-challenge.bryce.fisher-fleig.org.	588 IN NS ns-834.awsdns-40.net.
_acme-challenge.bryce.fisher-fleig.org.	588 IN NS ns-1495.awsdns-58.org.
I left out a lot of the dig output not revelant to this, but the "ANSWER SECTION" shows that several domains like *.awsdns-* are acting as name servers for _acme-challenge.bryce.fisher-fleig.org. When you provision a hosted zone in AWS, you'll be provided your own list of name servers that are likely different from mine. You'll need to consult with your DNS provider's documentation for how to setup the NS records for the AWS name servers specific to your hosted zone. Using my name servers likely won't work for your domain.
Regardless of where you host your DNS for the domain you want to secure, you should be able to add a TXT record (for example with "hi mom") inside Route53 for _acme-challenge.<YOUR DOMAIN> and then see that same way in dig a little later:
dig -t TXT _acme-challenge.<YOUR DOMAIN>

;; ANSWER SECTION
_acme-challenge.<YOUR DOMAIN>. 600 IN  TXT "hi mom"
If you can see "hi mom" or whatever value you set, then it works! Move on to the next step.
IAM Setup to Manage Route53
Now, create an AWS IAM user with this inline IAM policy:
{
    "Version": "2012-10-17",
    "Id": "certbot-dns-route53-bryce-fisher-fleig-org",
    "Statement": [
        {
            "Effect": "Allow",
            "Action": [
                "route53:ListHostedZones",
                "route53:GetChange"
            ],
            "Resource": [
                "*"
            ]
        },
        {
            "Effect" : "Allow",
            "Action" : [
                "route53:ChangeResourceRecordSets"
            ],
            "Resource" : [
                "arn:aws:route53:::hostedzone/<HOSTED ZONE ID>"
            ]
        }
    ]
}
Name the policy something and add it to your user. Store the AWS_ACCESS_KEY_ID and AWS_SECRET_ACCESS_KEY for later.
Figure out Certbot and Gitlab Pages API
I spent roughly an hour trying to get the official Pypi certbot-dns-route53 package to work for me locally in a virtualenv on MacOS, and didn't have it working. I found the official Docker image to be much easier to setup and use. Plus, this image can be used with very few tweaks from Gitlab CI.
Ask for a Certificate
export AWS_ACCESS_KEY_ID=$ACCESS
export AWS_SECRET_ACCESS_KEY=$SECRET

certbot certonly \
  -n --agree-tos \
  --email "$EMAIL" \
  --dns-route53 \
  -d "$DOMAIN"
- The plugin requires AWS credentials to be passed as environment variables
certonlymeans that certbot won't try to install the certificate anyway, it will just output the certificate to a file$EMAILis your email address (required, but also for notices about certificate expiration)$DOMAINis the domain you want a certificate for
If that all works, you should now have the secret key in /etc/letsencrypt/live/${DOMAIN}/privkey.pem and the full certificate chain in /etc/letsencrypt/live/${DOMAIN}/fullchain.pem.
Obtain an API Token for Gitlab
Go to https://gitlab.com/profile/personal_access_tokens and check the box for Scopes labeled "api". This token does seem more permissive than perhaps it should. If you want to lock down this down more, you could create a dedicated gitlab user for only your blog instead of all your projects.
Send the certificate to Gitlab Pages
curl -XPUT \
  -H "PRIVATE-TOKEN: $GITLAB_TOKEN" \
  --form "certificate=$(cat "/etc/letsencrypt/live/${DOMAIN}/fullchain.pem")" \
  --form "key=$(cat "/etc/letsencrypt/live/${DOMAIN}/privkey.pem")" \
  "https://gitlab.com/api/v4/projects/$CI_PROJECT_ID/pages/domains/${DOMAIN}"
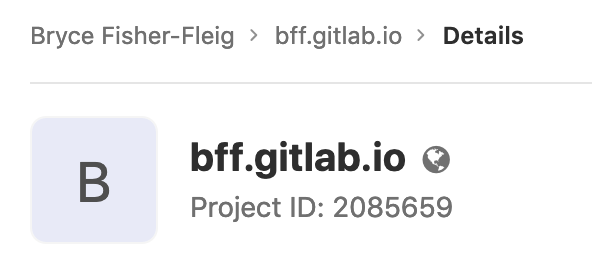
$CI_PROJECT_ID is the unique number Gitlab assigns to each project. For example, this blog has a project ID of 2085659 and you can find it on the main Gitlap project page, just under the title.
Automate All The Things!
You should be feeling pretty good right now -- you've written up a script that hands a shiny new SSL certificate any time you want. Nice! Now, lets make it happen automatically by setting a scheduled job in Gitlab CI.
Setup the GitlabCI Yaml
I spent most of my time figuring out the right incantion for my .gitlab-ci.yml:
letsencrypt:
  only:
    - schedules
  image:
    name: certbot/dns-route53
    entrypoint: [""]
  script:
    - apk add curl
    - 'certbot certonly -n --agree-tos --email "${EMAIL}" --dns-route53 -d "${DOMAIN}"'
    - 'curl -XPUT -H "PRIVATE-TOKEN: $GITLAB_TOKEN"
       --form "certificate=$(cat "/etc/letsencrypt/live/${DOMAIN}/fullchain.pem")"
       --form "key=$(cat "/etc/letsencrypt/live/${DOMAIN}/privkey.pem")"
       "https://gitlab.com/api/v4/projects/${CI_PROJECT_ID}/pages/domains/${DOMAIN}"'
entrypoint: [""]-- this was very difficult to figure out, even with the documentation in hand. My guess would be that Gitlab Runners actually usedocker execto runscriptcommands on a container, but many containers (likecertbot/dns-route53) will exit immediately if not given a sensible command fordocker run, though to be honest I'm not quite sure how this works.only: schedules-- this is important to prevent every push to your repo from generating a new SSL certificate, but it means you'll have to visit the schedules page and click the play button to actually your codeapk add curl-- the docker image doesn't come with curl pre-installed so we leverage Alpine Linux's package managerapkto install it
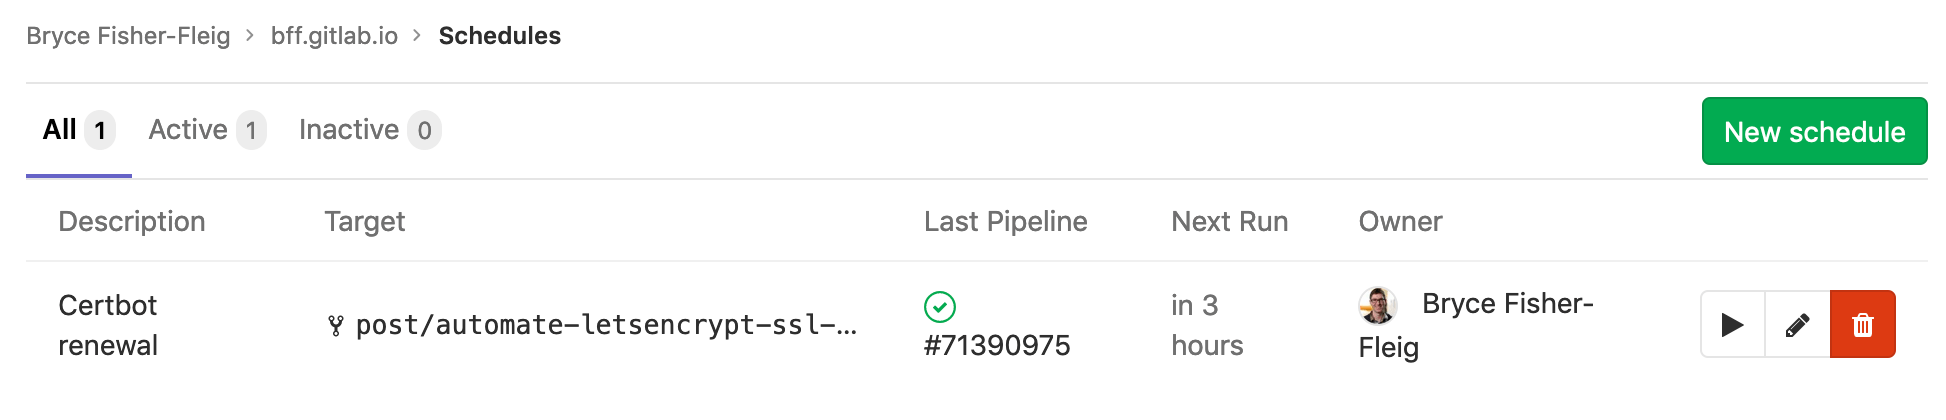
Put It on Your Schedule
Gitlab CI schedules are controlled separately from .gitlab-ci.yml via the API and using the website:
I do wish that schedules could be created via the regular .gitlab-ci.yml file used for everything else in Gitlab CI...but at least there's an API and a fairly straightforward UI for this. The upshot of separating out the scheduled jobs is that credentials for scheduled jobs can be managed separately from git-push jobs. We can benefit from that by only adding the AWS_ACCESS_KEY_ID into the scheduled job for Lets Encrypt (and not in the regular variables used by git push).
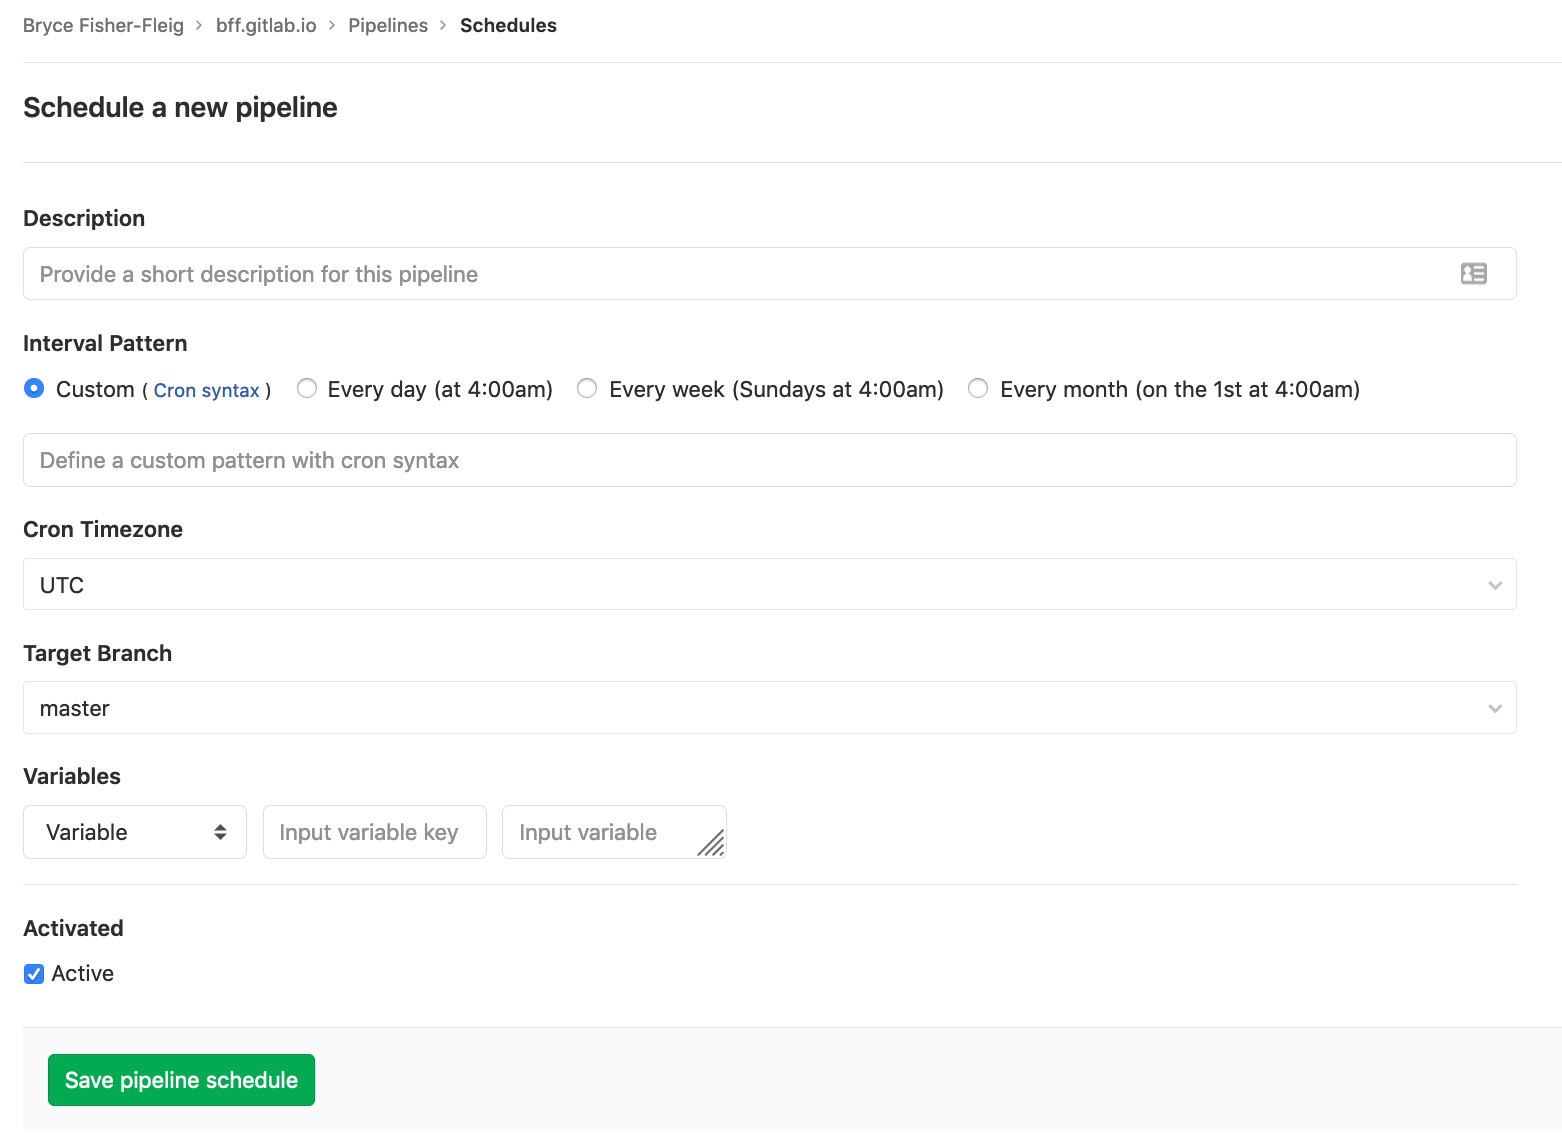
Pick the right branch here (I used master once I'd finished manually verifying everything works). These variables will need to be setup for the schedule:
EMAIL- your email addressDOMAIN- the domain you want to secure with SSLAWS_ACCESS_KEY_ID/AWS_SECRET_ACCESS_KEY- you should have this stored away from step 1 aboveGITLAB_TOKEN- this token you created inside Gitlab in the previous step
Once its all added, test it out by click "Play" on the schedules overview page and watch the job logs to look for problems.
Monitor on the Cheap
I've used UptimeRobot for several years and I'm pretty happy with their free offering for personal projects.
However, I've found that Keybase (which is for encrypted chat and file sharing, not monitoring things) is actually really good at noticing when my SSL certificate is expired on my blog...and its also free.
I'm not going to go into how to use these products since you've suffered through enough of my yammerings already, but I think either one can be a great option.
Profit!
Using this system, you should have a perpetually valid SSL certificate, replaced at the frequency of your choosing, and costing you a few cents per month on AWS Route53 bills.